Monday, April 25, 2011

layout & design packaging final

Our final for Layout & Design is to create a packaging set. I chose to base my packaging design on Grounds Coffee Shop and Bakery, which I did a newspaper advertisement for in Digital File Preparation last semester. I wanted to expand on the idea of Grounds Coffee Shop and Bakery, which is a fictional company I created for the purpose of my newspaper advertisement.
For this assignment, we will be printing on brown craft paper, so it was important to keep the colors to a minimum, keeping in mind that it is difficult to print lighter colors on brown paper and impossible to print white. I chose to keep my design very simple, using exclusively black ink, because the brown color will speak for itself in relation to giving the packaging a coffee shop/bakery feel.
The three products I chose to make packages for were a coffee cup sleeve, a baked goods travel box, and a chewing gum box.
The coffee cup sleeve and baked goods box were developed using templates I found online. The chewing gum box template was made by opening up and measuring an Orbit chewing gum package. I transferred my collected measurements to an Illustrator file, where I was able to duplicate the folds and cuts of the package.
This project has not yet been printed, but below you will find my roughs and digital file screenshots. A post will follow included photos of finished, printed, folded products.


Please excuse my iPod touch low-res photos.
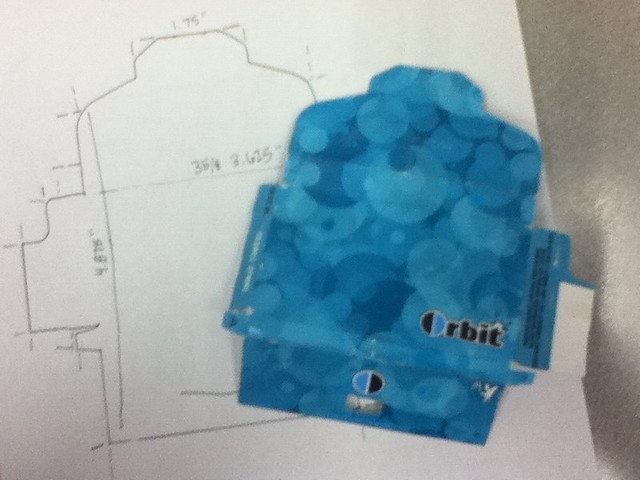
photo
This is the Orbit gum package I opened up and traced, then measured, to find correct layout, folds, and cuts for my Grounds Coffee Shop and Bakery remake.
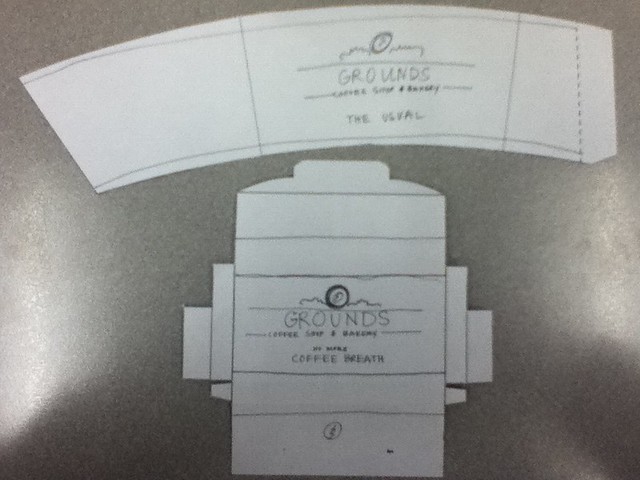
photopackages
These are roughs for the coffee sleeve and gum package.
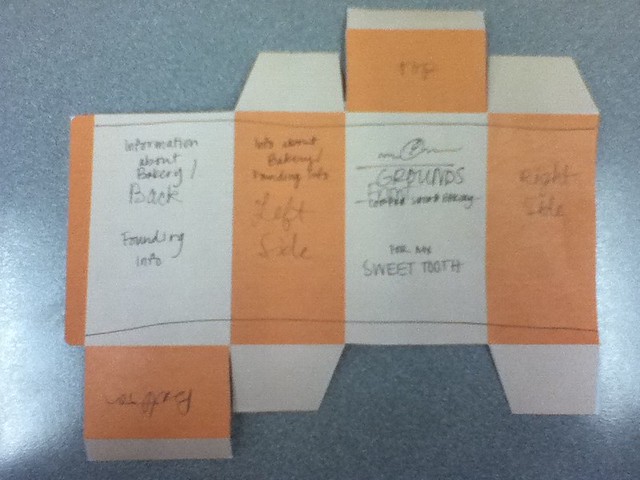
photobox
Rough for bakery travel box.

Picture 1
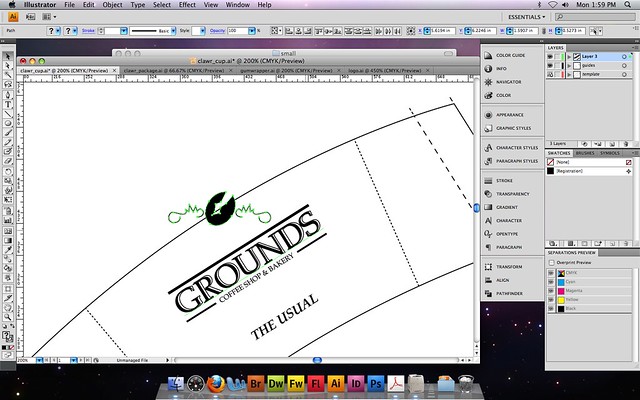
In the process of working on the coffee sleeve; placing the logo.
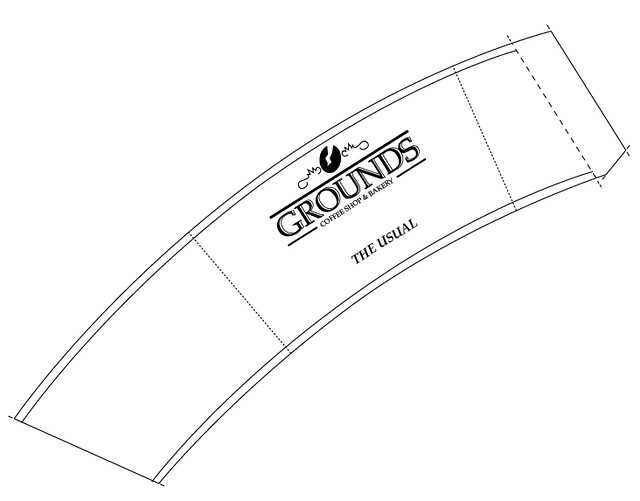
Picture 1
Screenshot of coffee sleeve; keep in mind that the template lines won't print. These include the outline of the product and the dashed lines within the product.
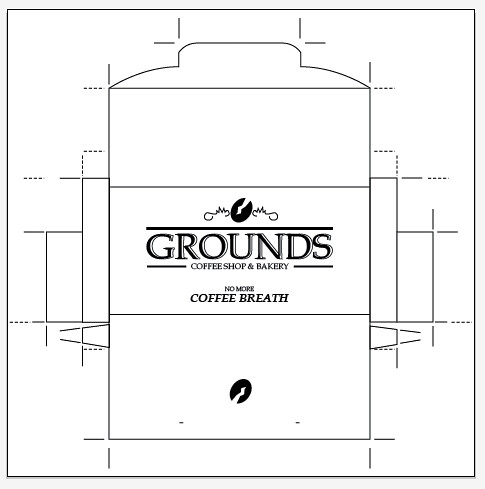
Picture 3
Screenshot of gum package; keep in mind that the template outlines won't print.
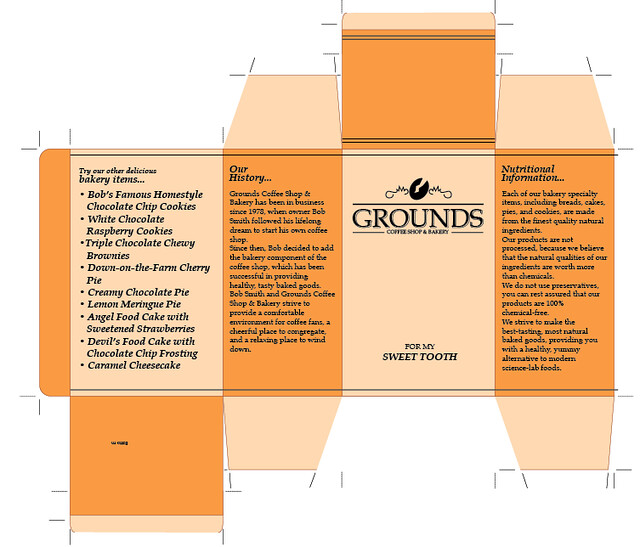
Picture 5
Screenshot of the bakery goodie box. Keep in mind that the orange background won't print (this background helped to distinguish between different panels of the box).

Related Posts
Strum & Crumb

Thursday, April 14, 2011

Typeface: Archer

For my color blocking Layout and Design assignment, I chose to recreate a layout from Martha Stewart Living magazine. We were instructed to attempt to recreate the layout as accurately as possible. This accuracy included fonts.
For some people in my class, the layout they chose included a font that was readily available to them, such as Times. However, the font Martha Stewart Living uses almost exclusively in their magazine is called Archer, and is available by purchase only.
Archer is a beautiful font, and if it weren't so expensive I would definitely buy it. It is a stand-out slab serif and works wonderfully in Martha Stewart Living, and I can only imagine all the other applications possible.
For a look at Archer, a review of the font, and a more in-depth description of its uses and specifics, visit Typographica.
The font I ended up using for my project was AlexandriaFLF, a similar slab serif that worked well enough for my project, and cost me nothing.

Tuesday, April 12, 2011

portfolio site - web based software final

In the past couple weeks, I have been working on my final for Web Based Software. The assignment for our final was to create a site using WordPress. We were allowed to choose what the site would be about, so I chose to make my site a portfolio site, including photography, print design, and web design.

You can visit my final site here.

Monday, April 11, 2011

flash video


In my Web Based Software class, we have touched on some basics of Flash. We were assigned to make a Flash video using only text. This text is a selection from the poem/children's book, I Like You, by Sandol Stoddard Warburg. This poem, in its entirety, will be a reading at my wedding in six weeks (!).

Saturday, April 9, 2011

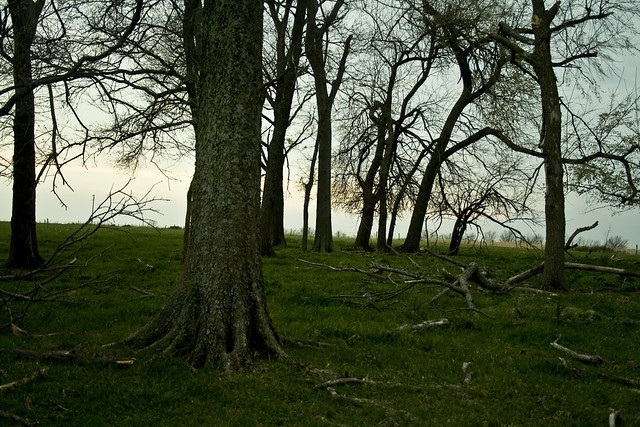
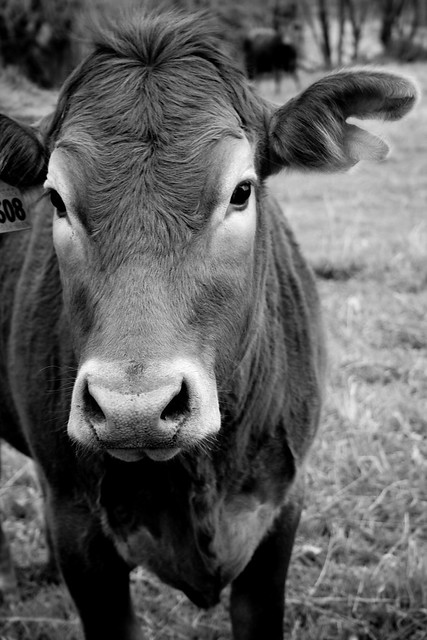
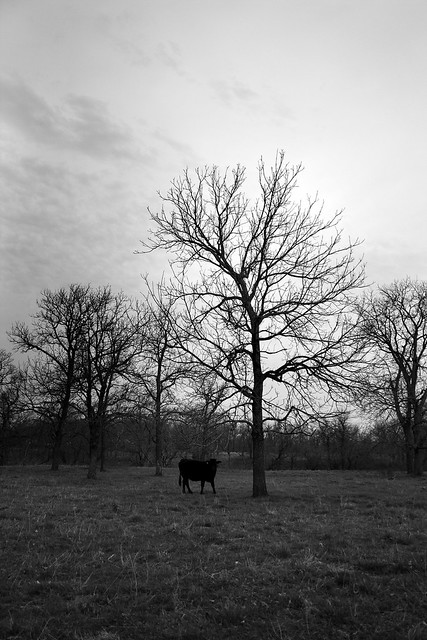
some photography

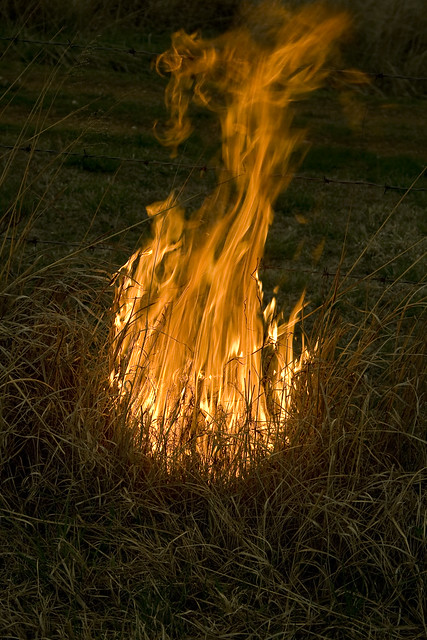
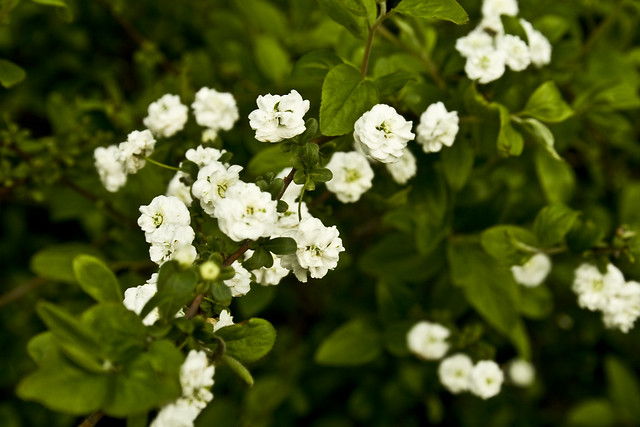
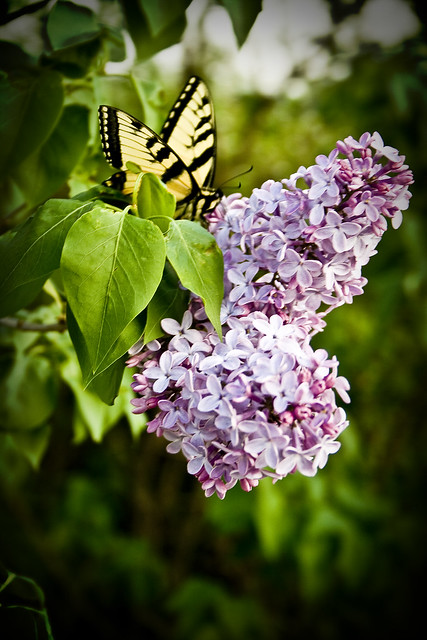
Yesterday, I was playing with my camera, trying to get the perfect shot for my 365 blog, but ended up with a ton of good photos. I couldn't stand to not post them, so I decided to post the overflow on here. Enjoy!

trees

cowfriend2

onecow

cait

fire

whiteflowers

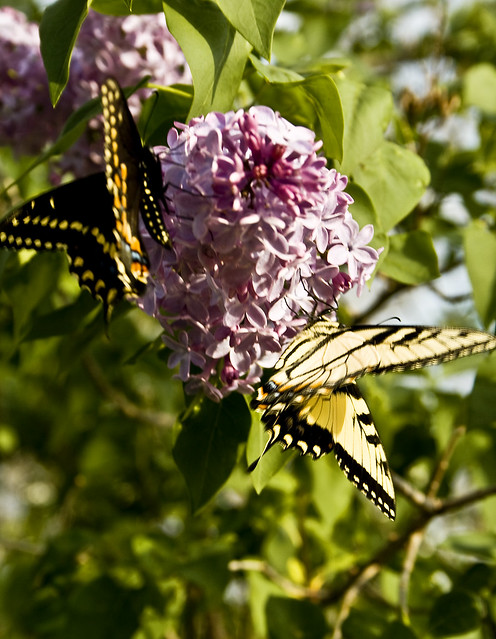
ybutterfly

butterflies

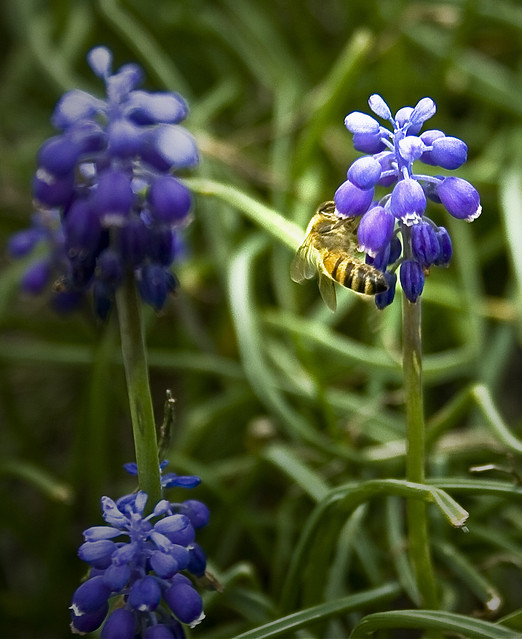
bee

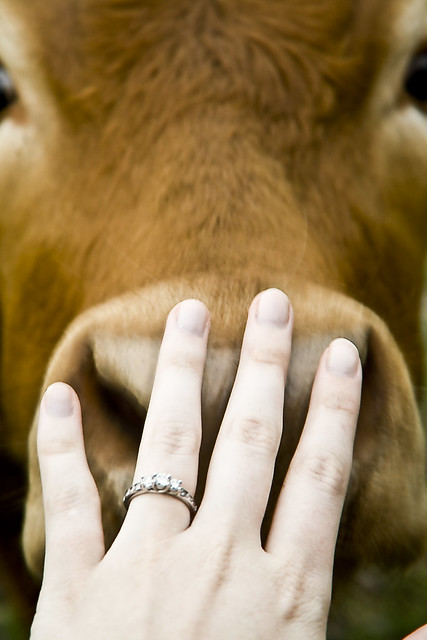
cowfriend

Friday, April 8, 2011

a reminder

Don't forget to check out my 365 photography project, Oh, Deer 365. After almost 40 days, it has absolutely been a challenge, but it's been very rewarding and I've learned a lot.

Wednesday, April 6, 2011

disney world brochure

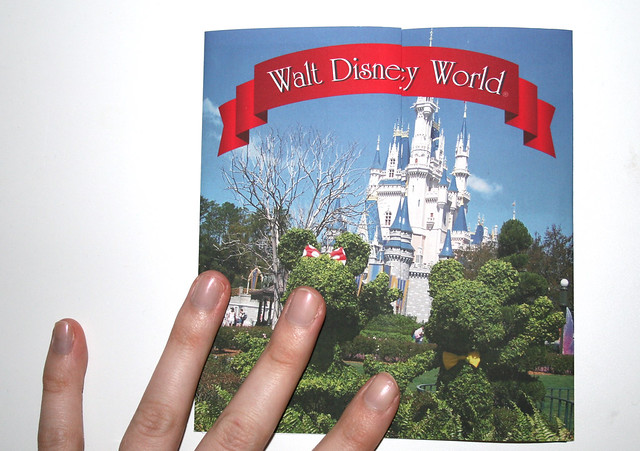
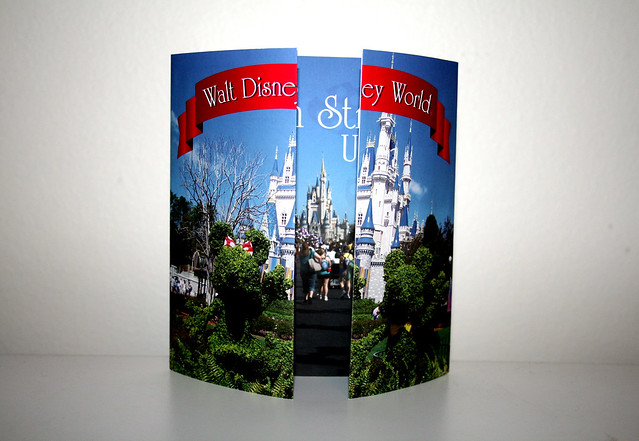
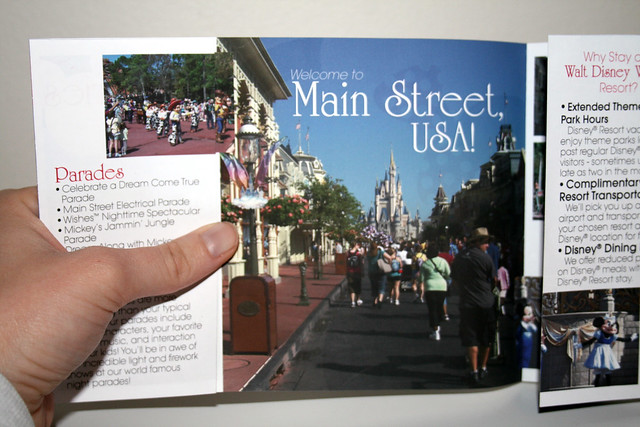
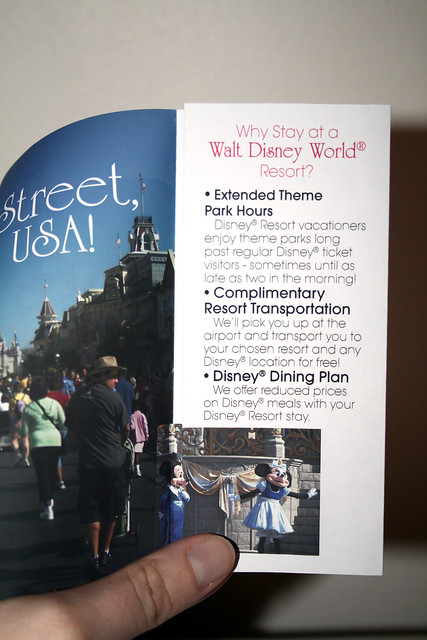
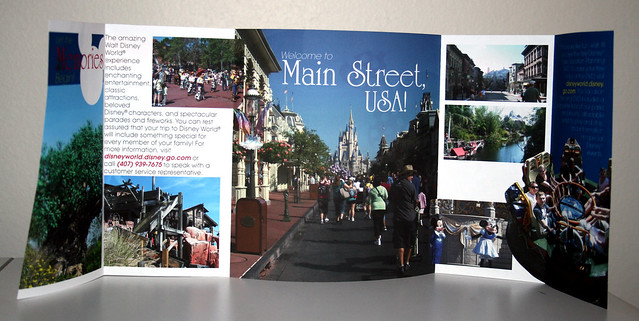
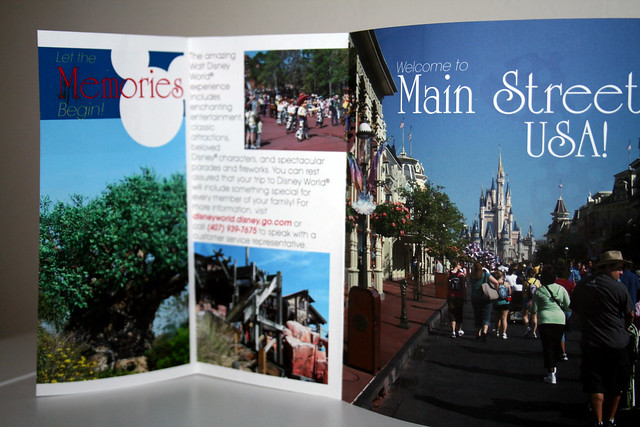
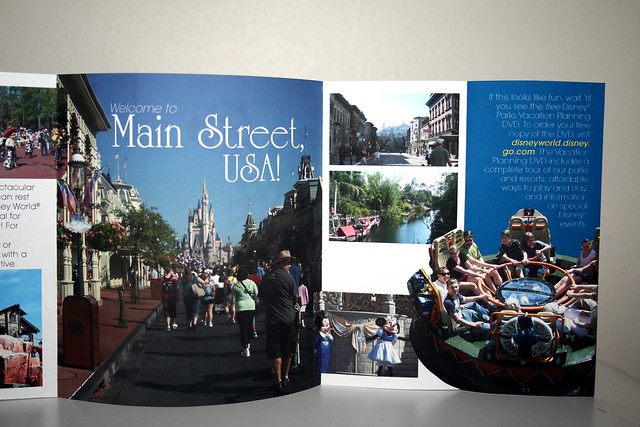
My Disney World brochure for my Preflight and File Analysis class is finally completely finished, has preflighted successfully, and has been printed! Here is a folded proof of the finished product!

IMG_3210
Cover | Folded | Left panel hangs over 1/4" (the "e" in Disney actually does fold up correctly, the paper is just a little curly, so it looks like it's not matched up)

IMG_3211
For size reference

IMG_3215
Back

IMG_3213
Opening up

IMG_3216
Crossover 1 | Parade photo

IMG_3217
Crossover 2 | Mickey and Minnie photo

IMG_3218
Inside | Opened up

IMG_3219
Left side | Opened up

IMG_3220
Right side | Opened up

Tuesday, April 5, 2011

wedding playlist cd packaging

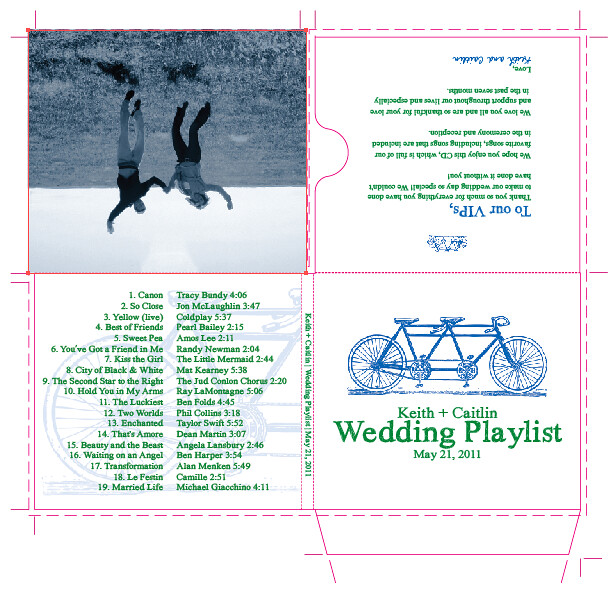
For our wedding in May, I wanted to provide our "VIPs" (wedding party, immediate family, etc.) with a CD including a portion of our wedding playlist. This CD packaging assignment came up in my Layout and Design class, and it was the perfect opportunity to hit two birds with one stone. The pink-ish template (which won't be printed) was provided by my Layout and Design instructor.

Picture 1

Monday, April 4, 2011

web based software - live

All my work so far for Web Based Software can be found live here.

Related posts:
Using Dreamweaver Starter Layouts
Web Based Software Home Page
Web Based Software Random Elements Page

Web Based Software Final

Picture 5
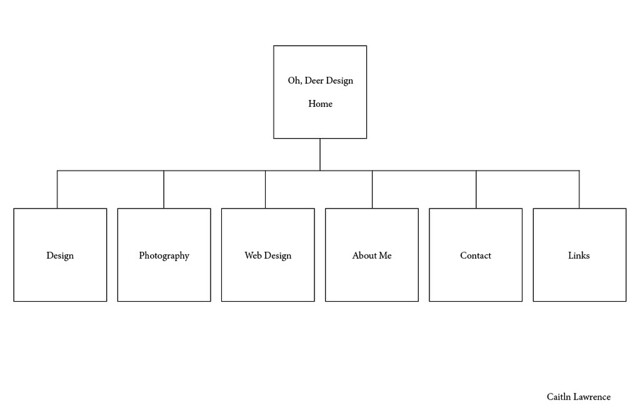
This is a screen grab of the site map I will be using for my Web Based Software final site. For this site, we are able to choose what we want the site to be about. I chose to make my site a portfolio site.
This site will be created using WordPress. I started working on it today, and you can view my progress here.